When I teach art to Maury’s 4th and 5th graders, I feel like I am teaching at the college level. The way these students know how to navigate the art studio, manipulate challenging tools and media, discuss complex subject matter and collaborate with their peers is truly a sight to behold. I can trust these students with the most arduous tasks, complicated clean ups, and contemplative subject matter. When we are deep into art making for our mere 45 minutes a week, there are moving pieces happening all at once, yet there is a method to the madness, a beauty in the chaos, and an energy required by those who create truly amazing work.
Allow me to walk you through the step by step process of our latest accomplishment: Dia de los Muertos relief prints inspired by the work of Mexican artist, Jose Guadalupe Posada, with tools and materials funded by the generous donations of strangers, friends and community members on Donorschoose.org (I still have a smock project in need of donations if readers out there have any holiday give left in them, check us out!).
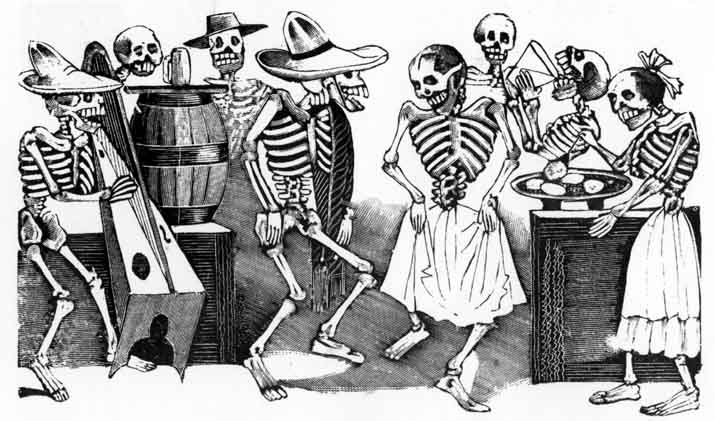
Posada was one of the first artists to popularize skull/skeleton imagery and he did so by carving his politically charged block prints from wood with sharp carving tools. In relief printmaking, the artist cuts away what they do not want to print. The print is made from what is left of the original surface. The image is transferred by rubbing the backside of the paper after it is placed face-down on the fully inked block.
We watched this video to insure that we understood each step of our process before beginning.

After reading up on the Latin American celebration of Dia de los Muertos, or Day of the Dead, and the significance of the holiday and many of its iconic imagery such as skulls, marigolds, and skeletons, our artists worked hard to design a skull that used symbols to represent their own personalities.
 We looked at traditional and contemporary Day of the Dead designs to inspire our own original work.
 Our sketchbooks were the perfect place to store written and visual information.

Once we were satisfied with our sketches, and our contour lines were drawn heavily so that the loose graphite would adhere to our rubber block during the transfer process, we were ready to take our original sketch and create an exact replica in reverse. This is a great trick for young artists to learn so that they can reproduce work from an original sketch without frustration and painstakingly trying to redraw their previously successful drawing exactly.
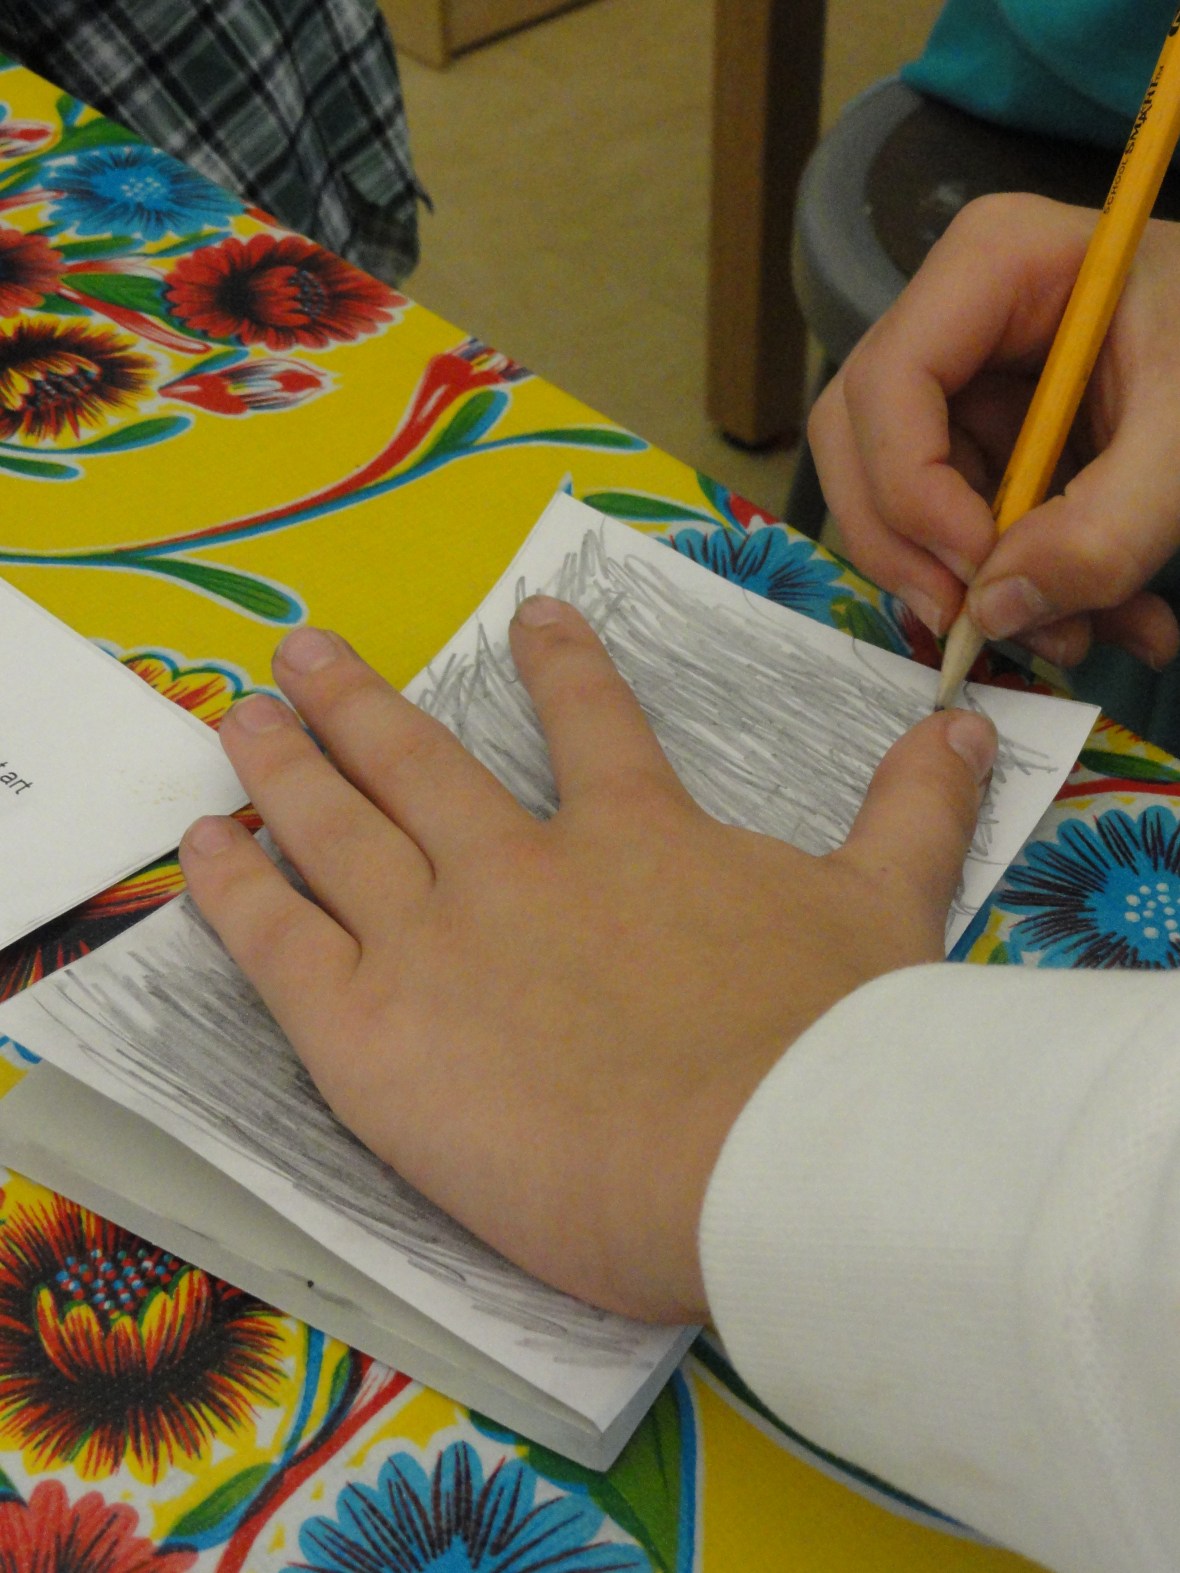
All you have to do is place your graphite sketch face down on a surface, in our case, our rubber printing block, and firmly cover the entire back of the image in graphite. The pressure from the rubbing process lets the original image to transfer, or create a print, onto the desired surface.
 Issac was able to create a very successful transfer of his detailed drawing. Notice how he chose to create a skull in the shape of a baseball mitt with baseball eyes! So creative!
 Another great example of the transfer process in action
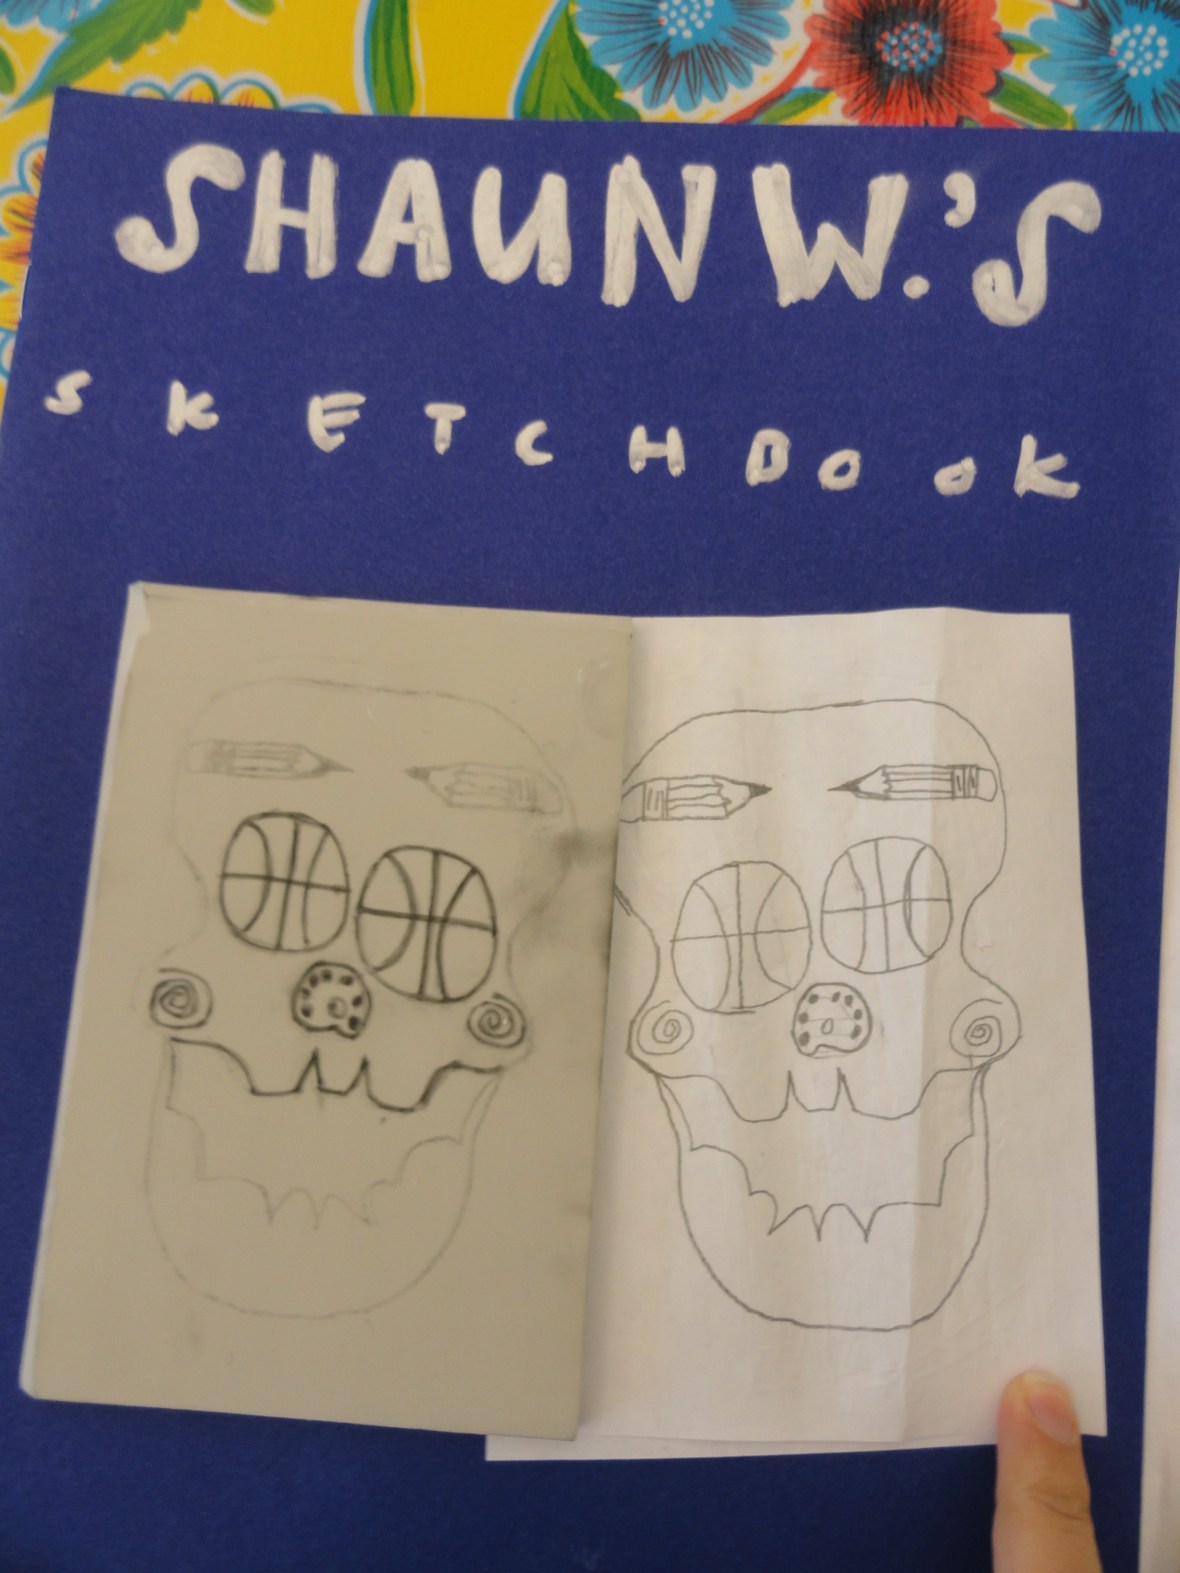 The Batman mouth is brilliant, not to mention the basketball eyes, painter’s palate nose and pencil eyebrows!
 I love when students take huge risks in the creation of their artwork. A baseball diamond shaped skull is such a clever way of incorporating the prompt into his design.

Next, it was time for carving! Carving or gouging, is how you remove the pieces the artist does not intend to print. Everything that is carved away will not be touched by the ink during the inking process. Students had to think in reverse to identify which parts of their design would be seen in positive space and which would become negative or absent from their block.
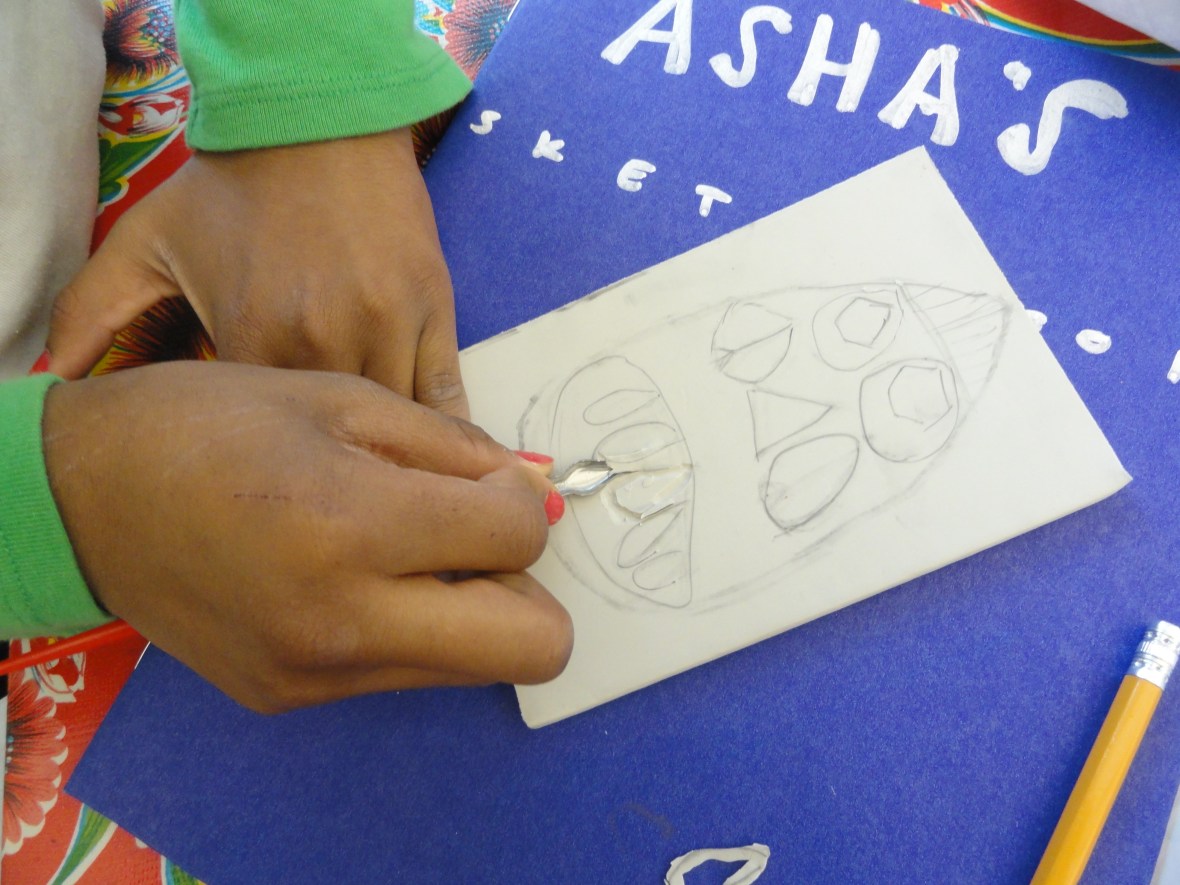
Safety is the biggest concern during this step. These tools are sharp enough to carve wood and can easily slip during carving and do some serious damage to tiny fingers. Asha is demonstrating the perfect carving technique! ALL fingers should be behind the blade in case the tool slips or gets caught in the rubber.

The inking process is when we begin to see the fruits of our labor. We used brayers to ink the surface of the rubber block. It took much trial and error to figure out just how much ink was needed to pull a winning print. So much of the printmaking process is finding that balance and it was different for everyone depending on how deep one carved, how wide the gouges were, etc.
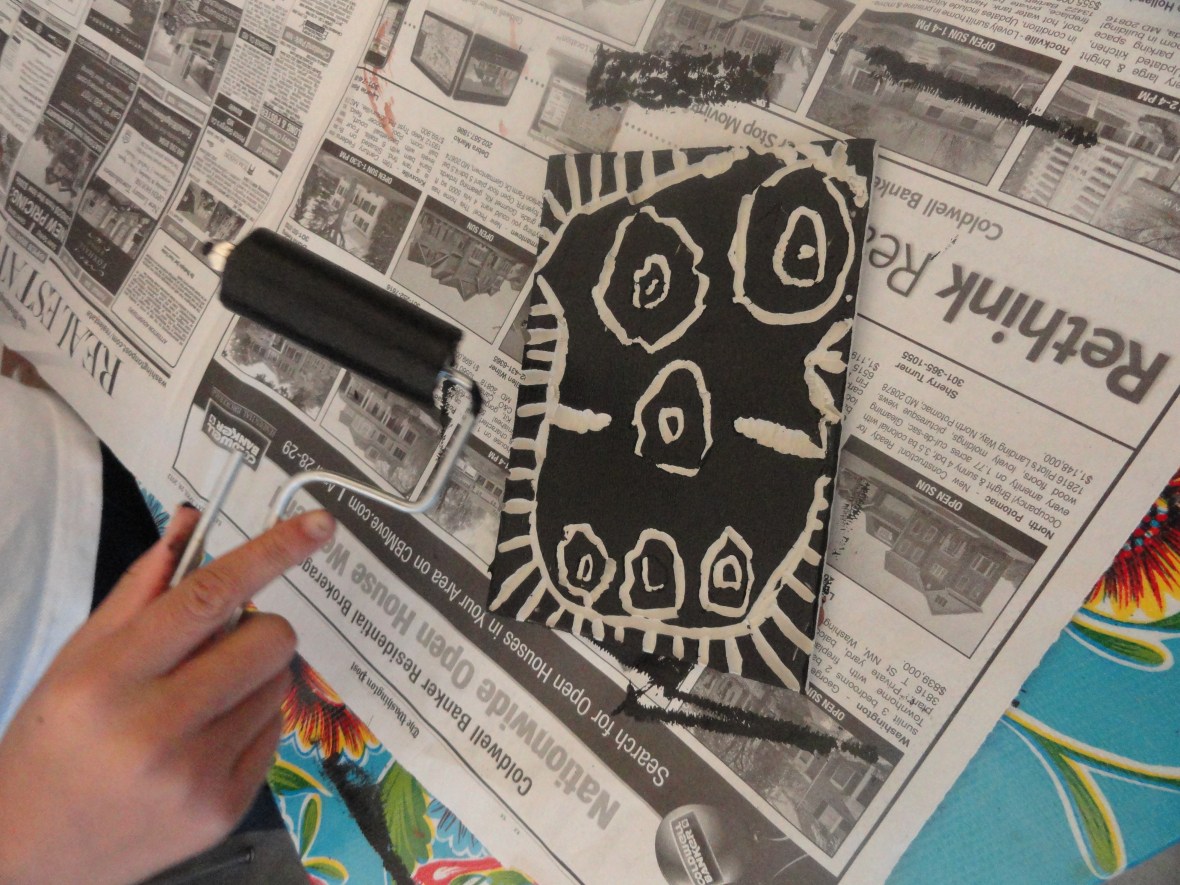

Then you must line your paper up just right. Once the paper is laid down, it cannot be readjusted. This artist used a pair of scissors to apply even pressure to his print.


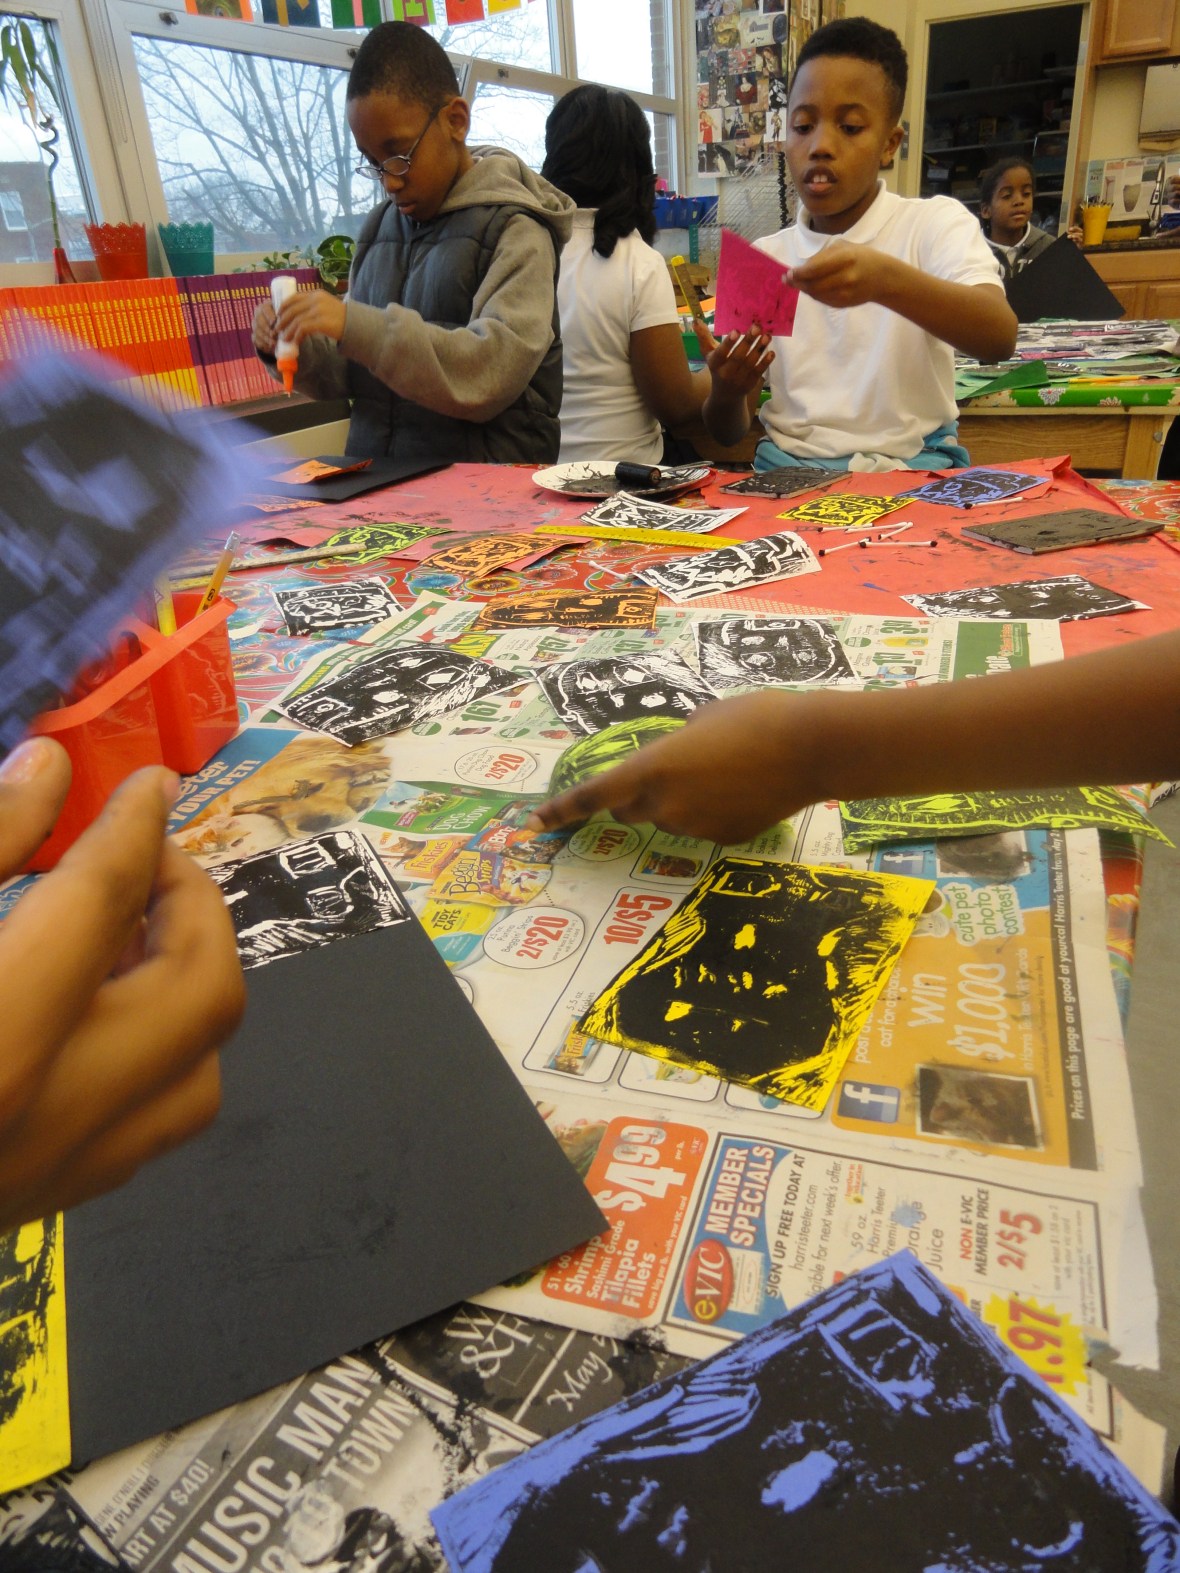
Each student pulled ~30 prints. Each print that is made is called an edition. Editing is a huge part of printmaking. Students had to go back and select which prints were most successful and could be used in their final piece. The fun thing about printmaking is that you can create an unlimited number of prints from the same block and use your discarded editions to trade with friends!
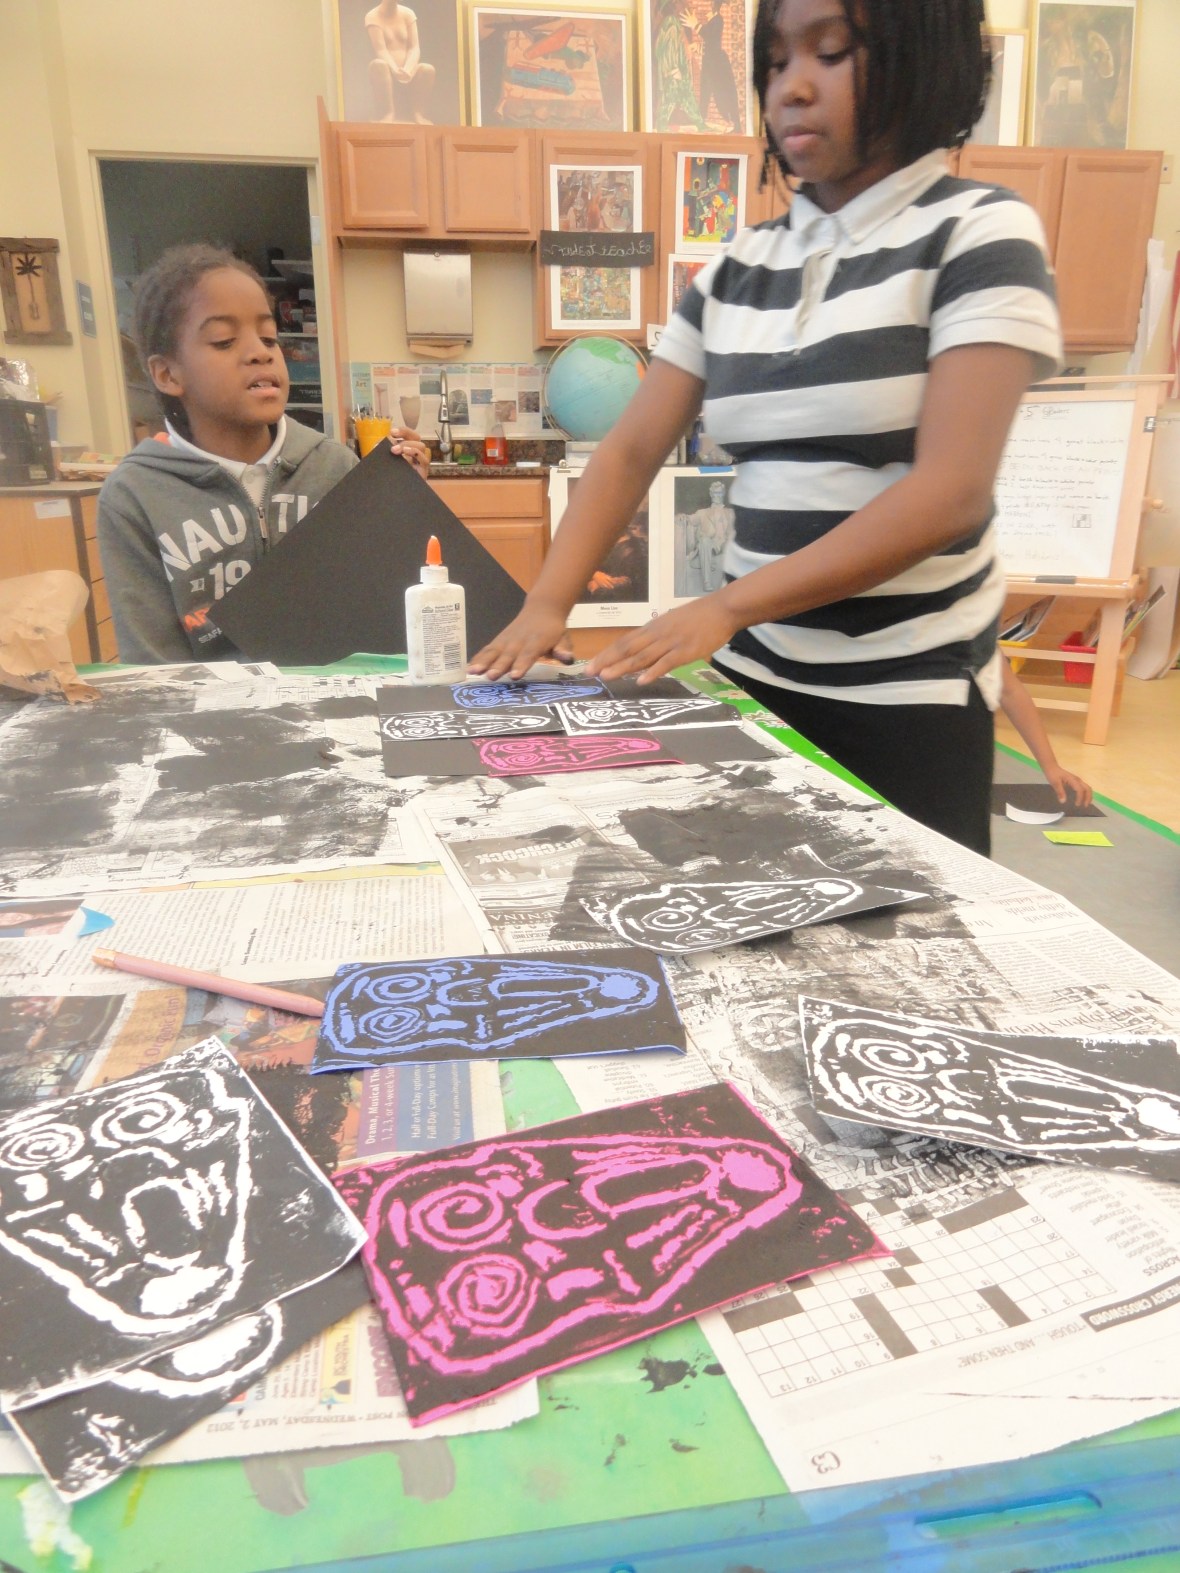
 This is how an art studio should look. Busy, productive, engaging!
 Factory efficiency!
 I love it!
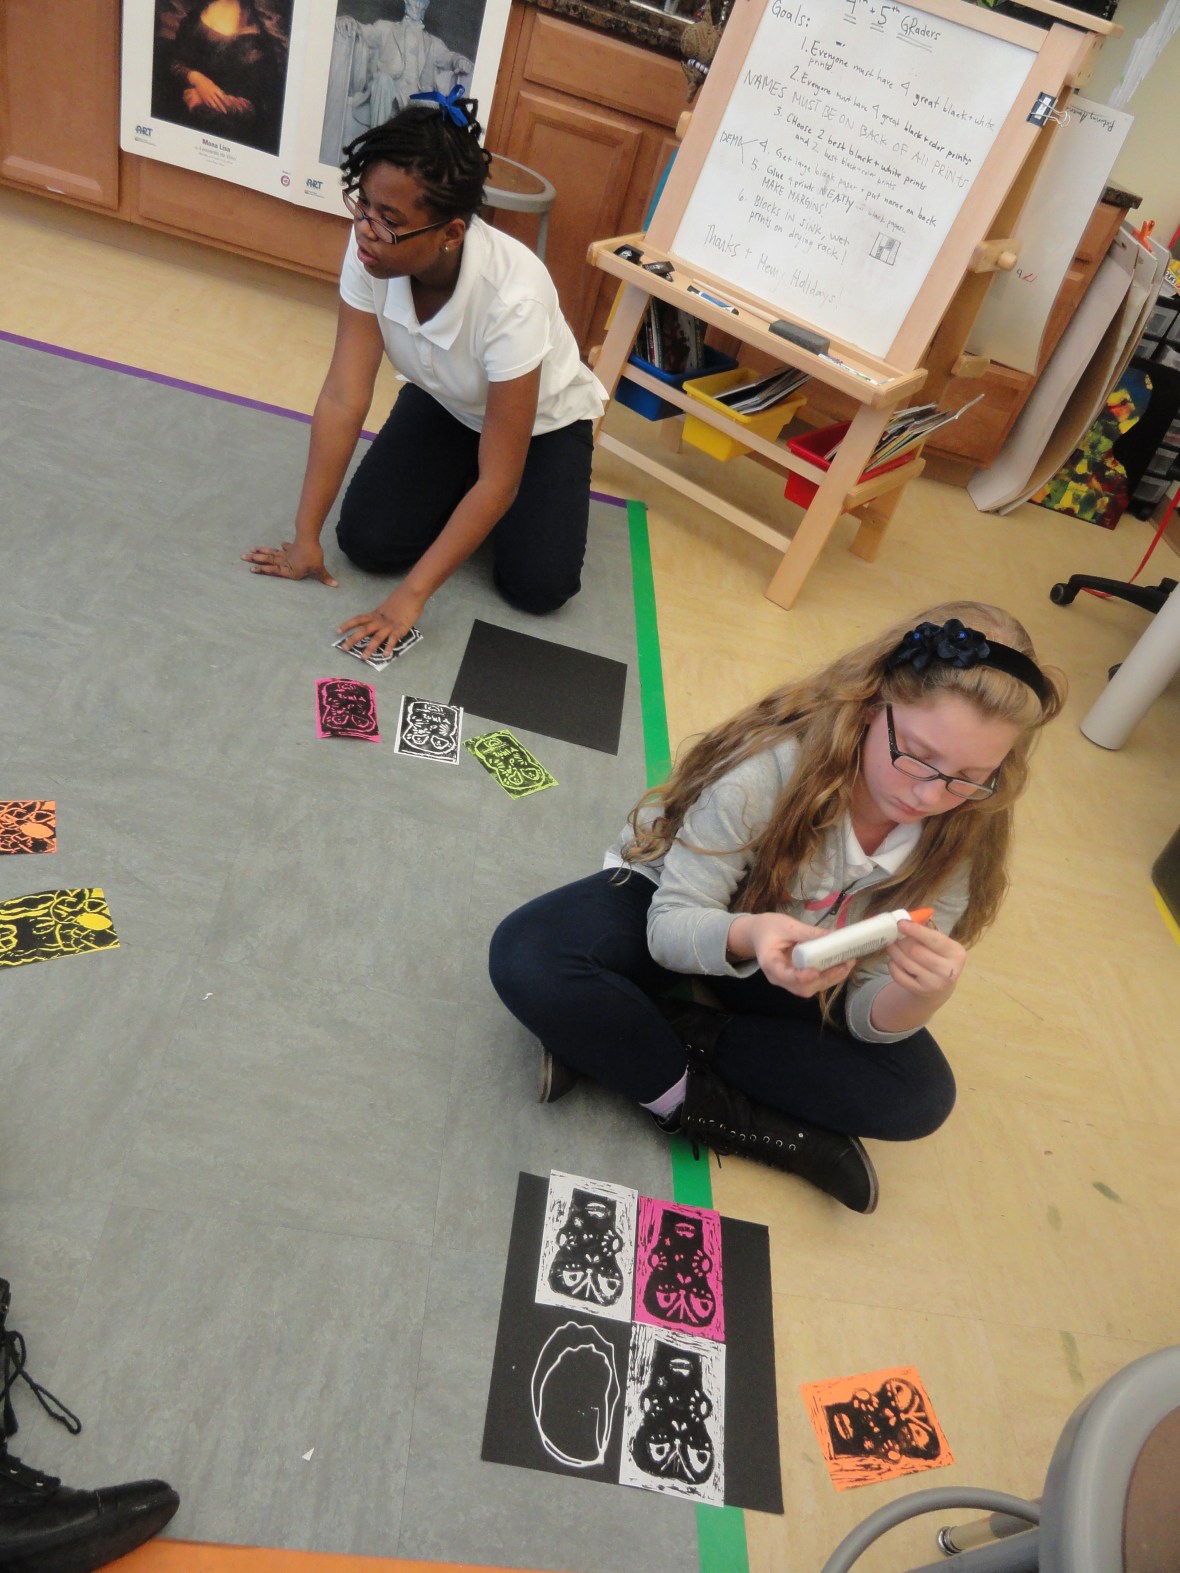
These artists have narrowed down their 2 best black and white prints and their 2 best colored prints and are assembling their final composition.

These works of art by Maury’s oldest students will be on display on the first floor of the East building after break. Please enjoy them, take time to look closely, and congratulate a 4th or 5th grader if you see them on their dedicated work. The finished pieces are truly impressive.
